Browse using the new Vinous website now. Launch →
Printed by, and for the sole use of . All rights reserved © 2015 Vinous Media
Stock Essentials
BY ERIC GUIDO | JUNE 19, 2020
It took me far too long into my culinary career to finally invest in a stock pot and start down the path of creating my own chicken, beef and mushroom stocks. My experience with stock in professional kitchens started in school, where we learned the fundamentals; yet after that, it was always the late night or early morning crews who would tend to the massive stock pots. It seemed like such a parochial and repetitive task, as my selections of stocks were refilled before my shift, and I would arrive at my station to use them without prejudice in the many preparations, sauces and risottos that I would make on a day-to-day basis. The fact is, I took them all for granted.
I began to respect the importance of a good stock when I left restaurants and began cooking in my own home. Suddenly a recipe that called for two to four cups of stock translated into forking up $5-$7 dollars at a time, and forget about the colder months when soup season began. Before I knew it, I was buying, on average, a gallon of organic stock each weekend. The ironic part is that, as a family of four, we were also roasting a whole chicken at least once a week and tossing away the bones. To add to my frustration, I also became intrigued by the trend of drinking bone stock, researching intermittent fasting, and discovering the health benefits that only a slowly simmered stock could offer. I had officially fallen down the rabbit hole and was spending more money reloading my liquid pantry than most people do on their weekly bill at a trendy coffee shop.
That was when it dawned on me, that I could save countless dollars by investing in just a few simple tools and taking a little time out of my life every two to three weeks. I could make my own stock.
So what is it about stock that’s so special?
It’s as simple as this: stock is a slowly simmered, heavily reduced broth, fortified with collagen (gelatin), as well as a myriad of other amino acids, vitamins and minerals that you can only get from the bones of animals. Meanwhile, a simple broth is made from a combination of meat, vegetables and aromatic herbs (no bones), and it can be made over a much shorter period of time. Both have their own health benefits and bring a lot of flavor to anything they’re added to, but only bone broth (or stock) adds that palatable richness to your preparations.
So why don’t more people make it?
First things first, it’s a time commitment, but one that’s worth the extra effort. It’s as easy as being able to remember to hold on to all of the bones that the average family produces and usually throws away. I have also found myself asking my hosts, when eating out, if they had any plans for the bones after we finished our meal. Just like the bones from my own home, they would be added to a large Ziplock bag and kept in the freezer until I had saved up enough to make my next stock. If you don’t want to go through all of this, a quality butcher will often be willing to sell bones at a very low price.
The second problem that most people have is the time it takes to make stock, but I have a simple answer for that. The average stock needs to simmer for at least twelve hours (mine goes for sixteen hours), and it’s difficult to imagine simmering a pot on your stovetop for such a long amount of time while maintaining that simmer. However, there is a simple answer; simmer it in your oven. By using your oven, you now have a controlled environment that maintains a relatively steady temperature. What’s more, you can let your stock simmer overnight while you sleep. Suddenly, it is not so inconvenient to dedicate sixteen hours to stock.
In the end, I could go on and on as to why you should be making your own stock, but the best way to understand the benefits is to try it.
In this recipe, I explain how to make basic chicken stock. However, the same principles can be applied to beef stock. Also, if you want to make mushroom stock, you can add three to six ounces of dried mushrooms to the simmering liquid. I personally prefer to season my stock lightly so that I can add seasoning later depending on the preparation. Remember when I talked about drinking stock earlier in this article? Well, there’s nothing quite like a cupful of this warm chicken stock with a few twists of sea salt from your grinder, a crack of pepper and a teaspoon of turmeric.
The video tutorial is packed full of hints and tips for stock essentials.
Chicken Stock
Ingredients: (makes 2 gallons, but you can easily cut this recipe in half)
The bones of five whole chickens, ducks or pheasants
- Any bird will do.
- Also include the necks and feet if you have them.
- Some people prefer to pre-roast their bones, but I do not. While it may add flavor, it also takes away from the health benefits.
16 quarts of filtered water
2 medium-sized yellow onions (rough chop)
4 carrots (rough chop)
1 leek (cleaned thoroughly and rough chop)
6 cloves of garlic
6 whole peppercorns
1 tsp dried rosemary
1 tsp dried thyme
1 bay leaf
1 tbsp apple cider vinegar
Salt and pepper to taste
Neutral cooking oil to sauté (grapeseed, avocado oil or ghee)
The Process:
1. Preheat your oven to 220 degrees.
2. Place a large stock pot (I use a 24-quart stock pot) over a medium-low flame.
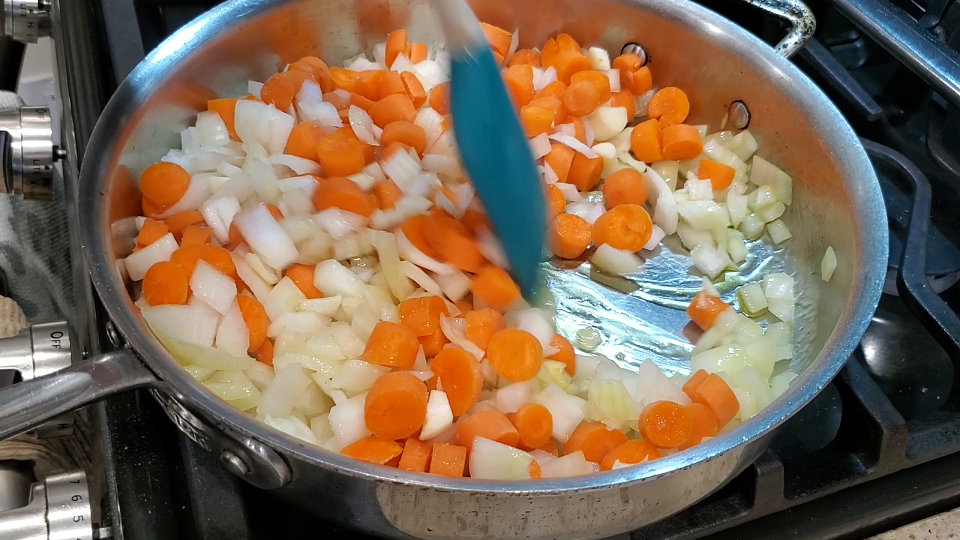
Allow the carrots, leeks and onions to sweat for five to ten minutes.
3. Once heated through, add the carrots, leeks and onions with a generous pinch of salt and, stirring occasionally, allow them to sweat for five to ten minutes over a low flame.
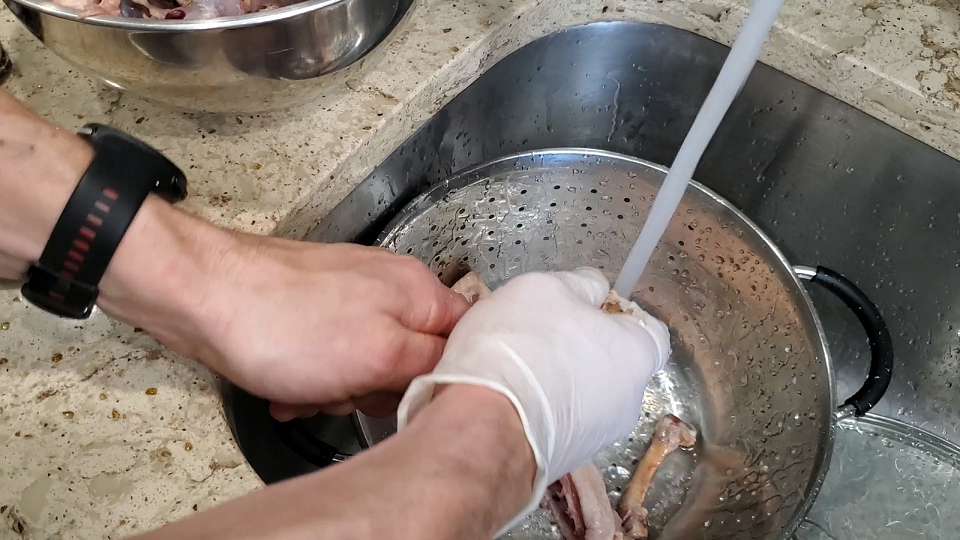
Rinse the bones under cold water.
4. Now rinse your bones under cold water. You are doing this to help defrost them, but also to remove any pieces of fat or connective tissue which will only be discarded later anyway. Also, you are washing away any seasonings that might remain on them from the first time they were cooked.
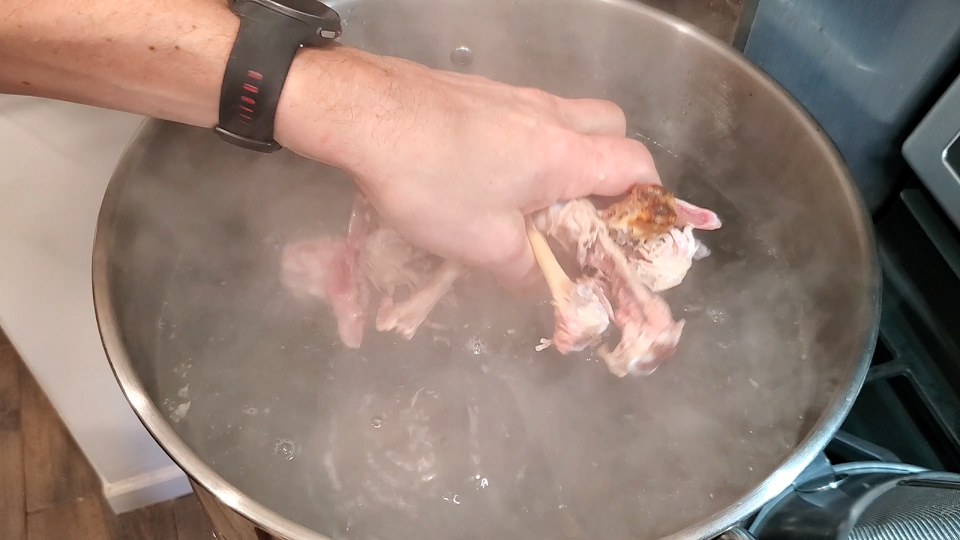
5. Once the vegetables have sweat, add the bones, followed by the peppercorns, rosemary, thyme and bay leaf.
6. Now begin adding the water to your pot, 16 quarts, and finally the apple cider vinegar.
Add bones, followed by the peppercorns, rosemary, thyme, bay leaf and apple cider vinegar to 16 quarts of water.
7. Turn the burner up to medium-high to bring this mixture to a soft boil.
8. As the liquid arrives at a boil, you’ll notice impurities and fat rising to the surface. You can skim this off by running a spoon just over the top of the stock and against the side of the pot.
9. When the mixture arrives at a boil, move it to your oven (careful, it’s heavy), and set your timer for four hours.
10. At the fourth hour, check in on your stock. (I like to plan this for right before bedtime.) Make sure that the liquid is not boiling. You should only see small bubbles rising to the surface periodically. If there is no motion whatsoever, you can raise the temperature to 225F. If there is too much motion, lower it to 215F. Either way, it is good practice to turn off your oven and then put it back on again because many modern-day ovens turn off automatically after 12 hours.
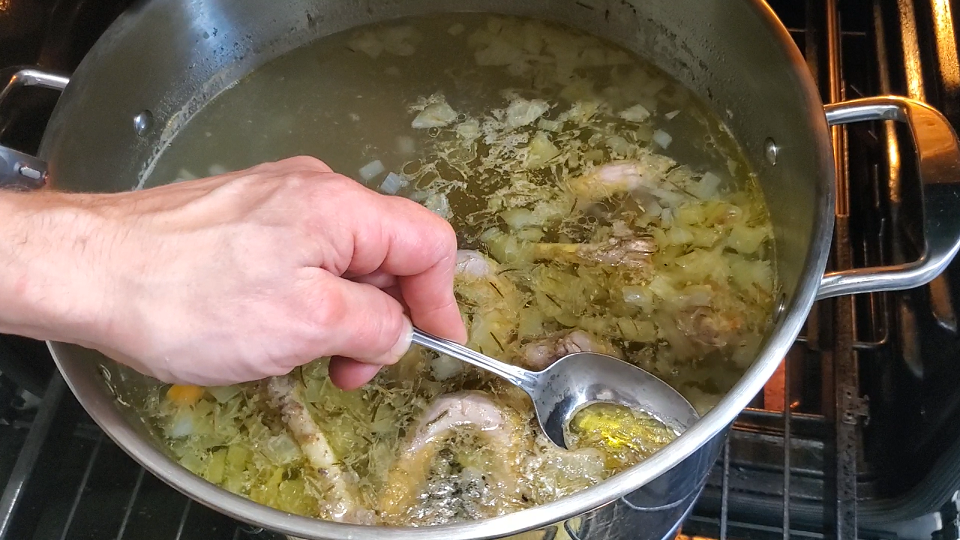
Skim off the fat by running a spoon just over the top of the stock.
11. Skim the surface one last time before setting your timer for another 12 hours, close the oven door, and enjoy a good night’s sleep while knowing your stock is slowly reducing in a safe place.
12. Once twelve hours have passed, gently remove the stock from the oven.

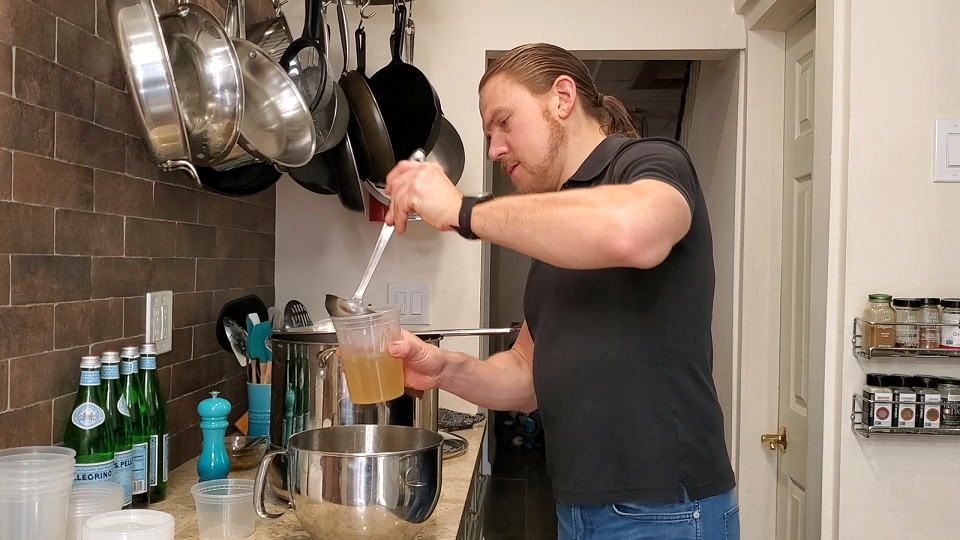
Ladle your stock through your straining method and into a bowl.
13. Have a fine mesh sieve, cheesecloth or chinois handy for straining, as well as various-sized plastic containers to store your stock. (You can use glass, but then you won’t be able to freeze it - water expands when it freezes.)
14. Skim the surface again, being careful not to stir up the stock or disturb the items that have sunk to the bottom. Try to remove all fat from the surface of the stock.
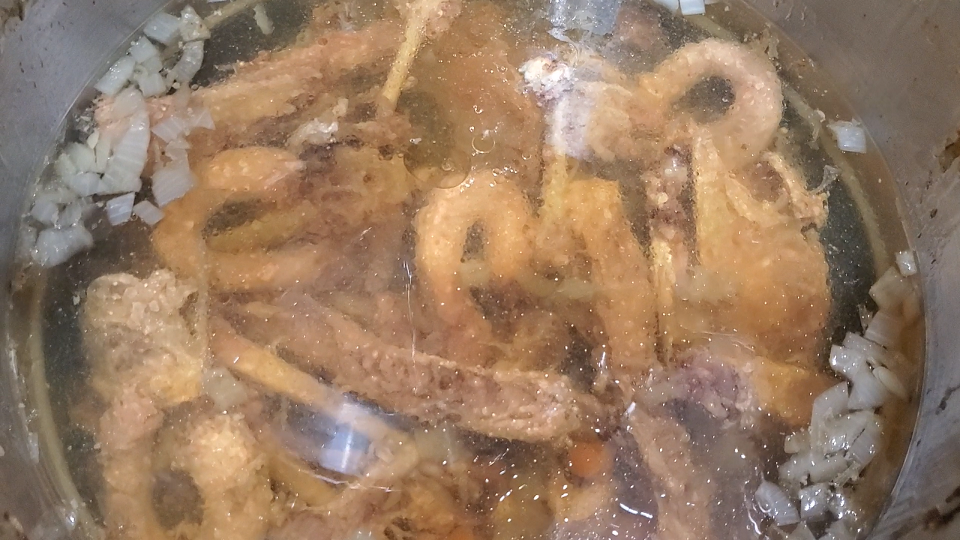
When ladling the stock, do not to disturb the items at the bottom of the pot.
15. Ladle your stock through your straining method and into a bowl. (For quick cooling, you can use an ice bath.) Again, remember not to disturb the items at the bottom of the pot. As you get closer to them with the ladle, use care to remove as much liquid as possible without stirring anything up from the bottom.
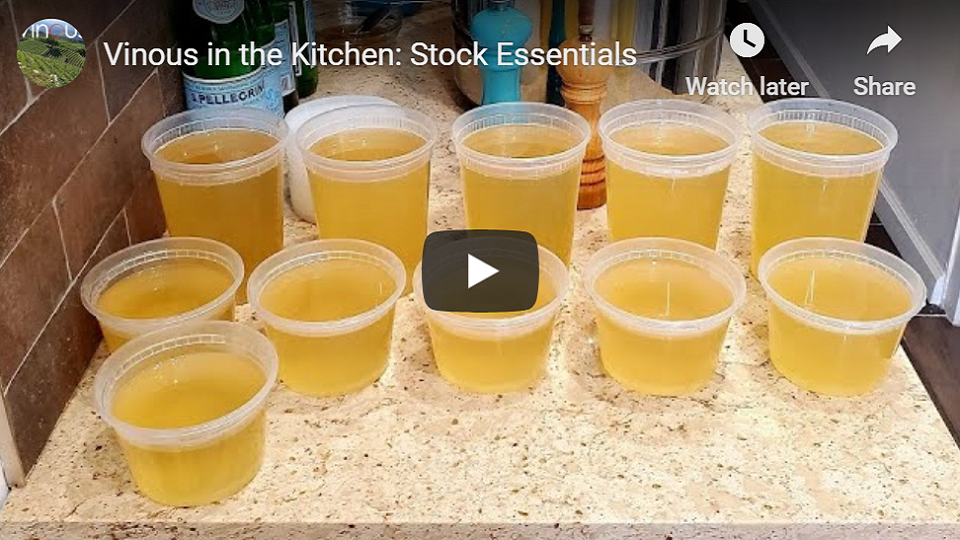
Ladle the stock into cup, quart, pint or gallon-size containers.
16. Now taste for seasoning, but do remember that when cooking with stock, you will be reducing this liquid further, so be careful not to overseason.
17. Split up your completed stock in cup, quart, pint or gallon-size containers, depending on how much you believe you’ll use at a time.
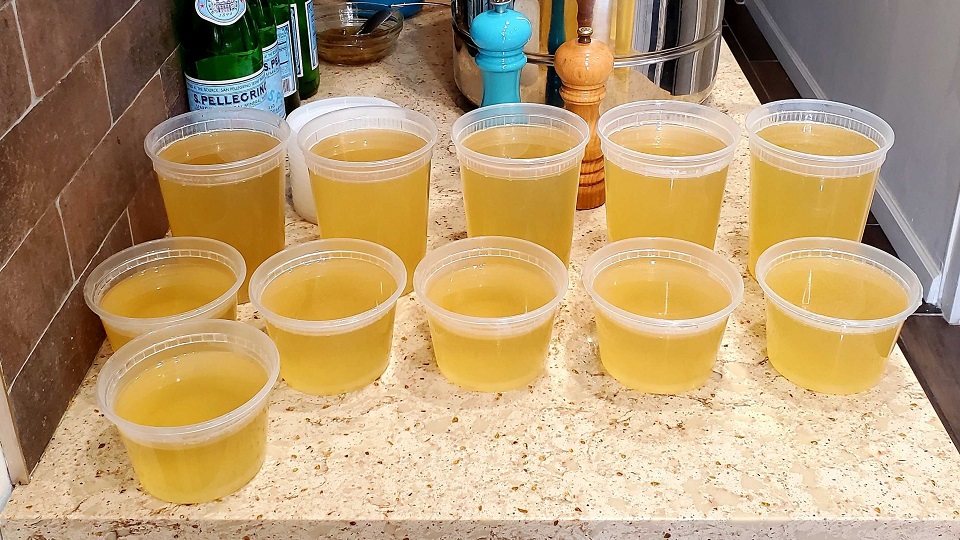
The finished broth can be stored for up to two weeks in the refrigerator or many months in the freezer.
18. Once cool, you can store these in your refrigerator for up to two weeks, or in your freezer for many months.